Welcome to our family camper van build adventure! We’re transforming our Ford Transit Custom into our very own camper van, tackling every step together as a family. With our two young lads getting stuck in alongside us, this project is as much about bonding and learning as it is about creating something amazing together, for us all to enjoy. Join us on this exciting journey as we share every triumph, challenge, and tip along the way – don’t forget to subscribe and follow our story as it unfolds! 🙂
Sunday 23rd February 2025.
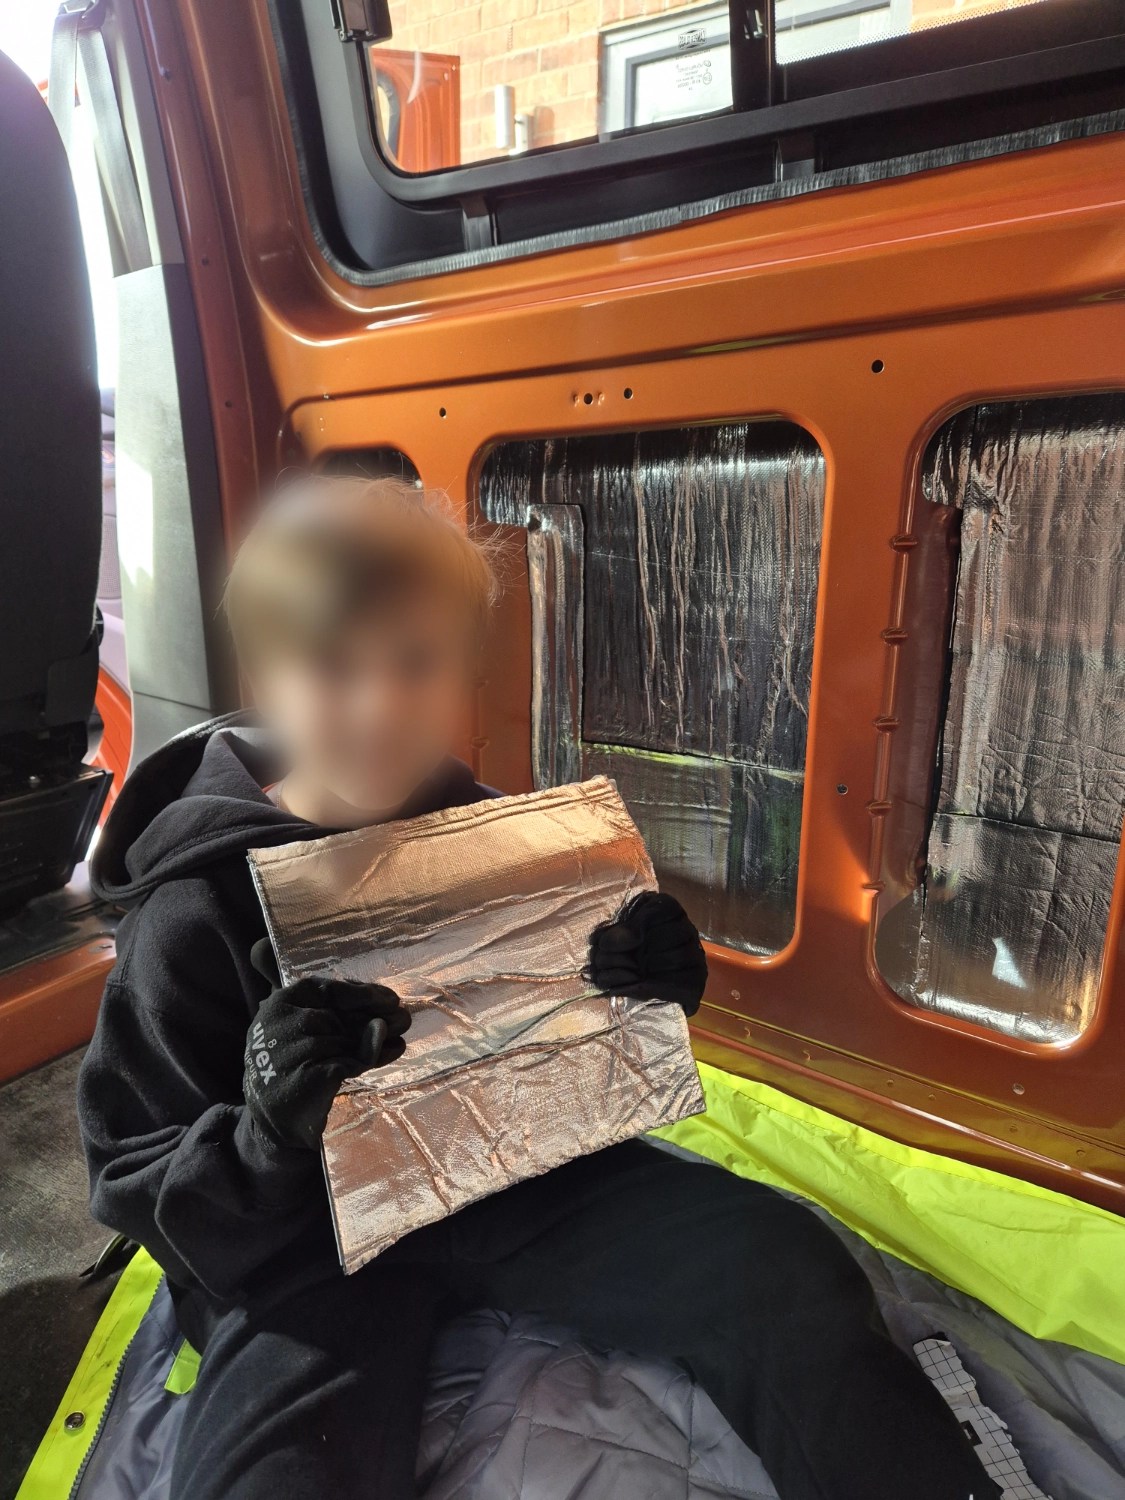
Day 2 saw us moving on from the Sound Deadening to the insulation part of the kit from Combe Valley Campers. This was finally a job that the children could help with, and they couldn’t wait! The task here was simple, basically everywhere we had covered with sound deadening now needed to be covered with a sticky back 5mm foam (the one with a silver foil topper). Unlike the sound deadening, this wasn’t cut to a specific size: it was supplied on a roll! This meant that we were able to cut to suit the shapes and sizes we needed, and in many ways, this made it easier and quicker to fit. Or perhaps it’s because we had some extra hands helping us?

The boys got stuck in (pardon the pun!) and absolutely loved helping to cut and stick the insulation. It was incredibly sticky, and in some of the smaller cavities they had to learn to not rush in, because as soon as it made contact with anything, it was ready to stick! It was another fiddly job but I was pleased with the boys patience and perseverance as they tackled it. It was a cold day (again!) but with the doors all shut, we were starting to reap the benefits of this insulation as things soon warmed up to a comfortable temperature.
Whilst we tackled the back of the van, my husband started to take the door cards off the front doors of the van, and used some of the excess sound deadening inside them. He added some insulation but was reluctant to put too much on in case of water ingress from the windows. We will see how it goes and if things stay dry we’ll add more in the future. We were both pretty shocked at how well fixed on the door cards were for a Transit – having taken many a door card off over the years, it’s usually 2 or 3 well hidden screws and off it pops, but the Transit seemed a lot more complex 😂.
Back in the rear, as we finished the tailgate, my husband wrapped up the front doors and decided to start adding the ‘fluffy insulation’. It hasn’t expanded overnight, despite the advice on the box, so one layer looked a little lost in the cavities. The video had recommended doubling up so my husband did that from the start. Unfortunately, this meant that by the time he’d got to the tailgate, we were out of fluffy insulation! Oh no!
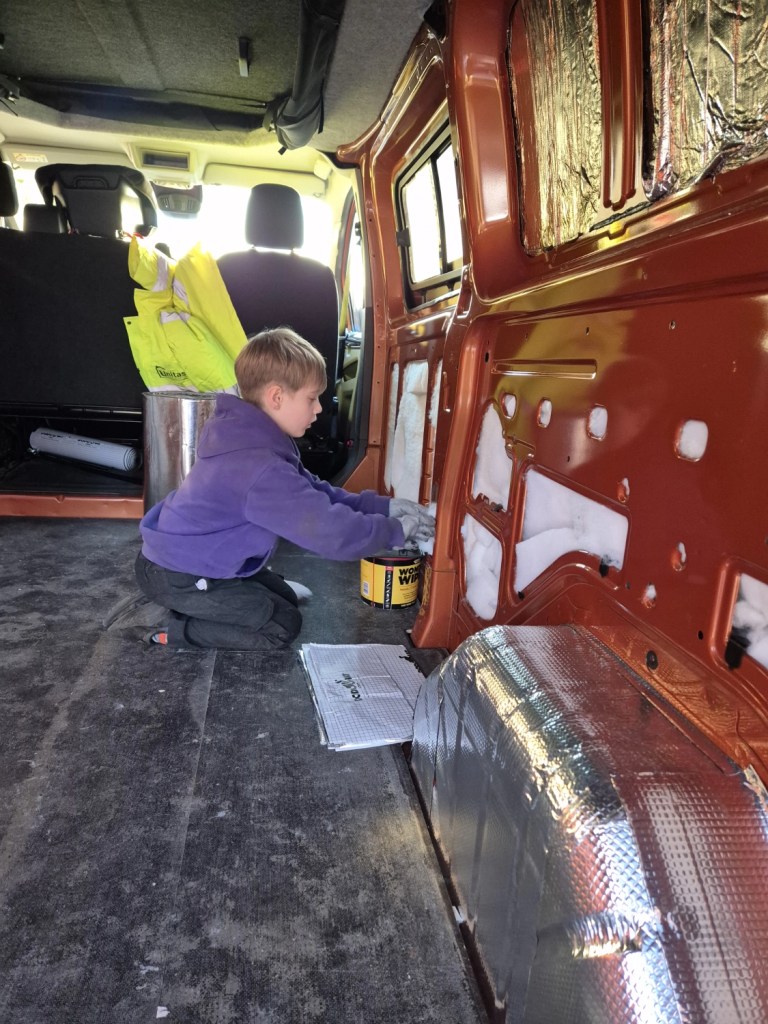


More insulation was needed so we jumped back onto the Internet to order some more 🙈. We went for an additional 2 boxes, and 3 days later the boxes arrived. I had a meeting when they arrived, but my husband was back from work, so he and the boys jumped into the van and continued piling the fluffy insulation into the remaining open cavities. 2 layers thick in all the big cavities and every little nook and cranny the boys could find got completely filled too – well, if you’re gonna do it, do it right! Hopefully we won’t get cold in this van! If you’re looking to buy this kit, I might suggest you throw in an extra couple of boxes of this insulation to really ensure you have enough and your van will be warm.
Anyway, the final touch was a lovely surprise from all my lads, thanks guys! 😍
Discover more from Treks, Trails & Travel
Subscribe to get the latest posts sent to your email.

That’s starting to take shape and no doubt you are seeing the progress now.
LikeLiked by 1 person
It really is! It’s very exciting 🙂
LikeLiked by 1 person
Looking good!! Always nice when you can see the progress of your hard work 😀
LikeLiked by 1 person
Thanks! Yes it’s great seeing the progress now and even better when we’re the ones doing it 😁
LikeLiked by 1 person
Looks like some sound progress as the conversion work heats up – see what I did there. 😀
LikeLiked by 1 person
🤣 Love it 👌
LikeLiked by 1 person