
Welcome to our family camper van build adventure! We’re transforming our Ford Transit Custom into our very own camper van, tackling every step together as a family. With our two young lads getting stuck in alongside us, this project is as much about bonding and learning as it is about creating something amazing together, for us all to enjoy. Join us on this exciting journey as we share every triumph, challenge, and tip along the way – don’t forget to subscribe and follow our story as it unfolds! 🙂
Saturday 22nd & Sunday 23rd March 2025.
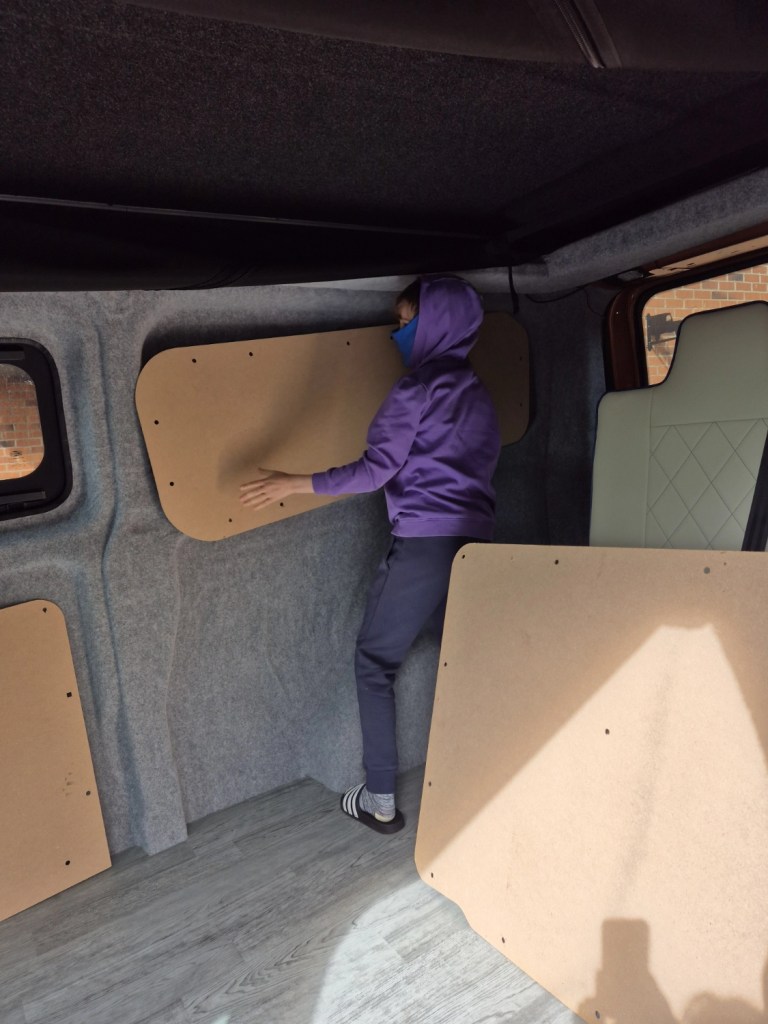
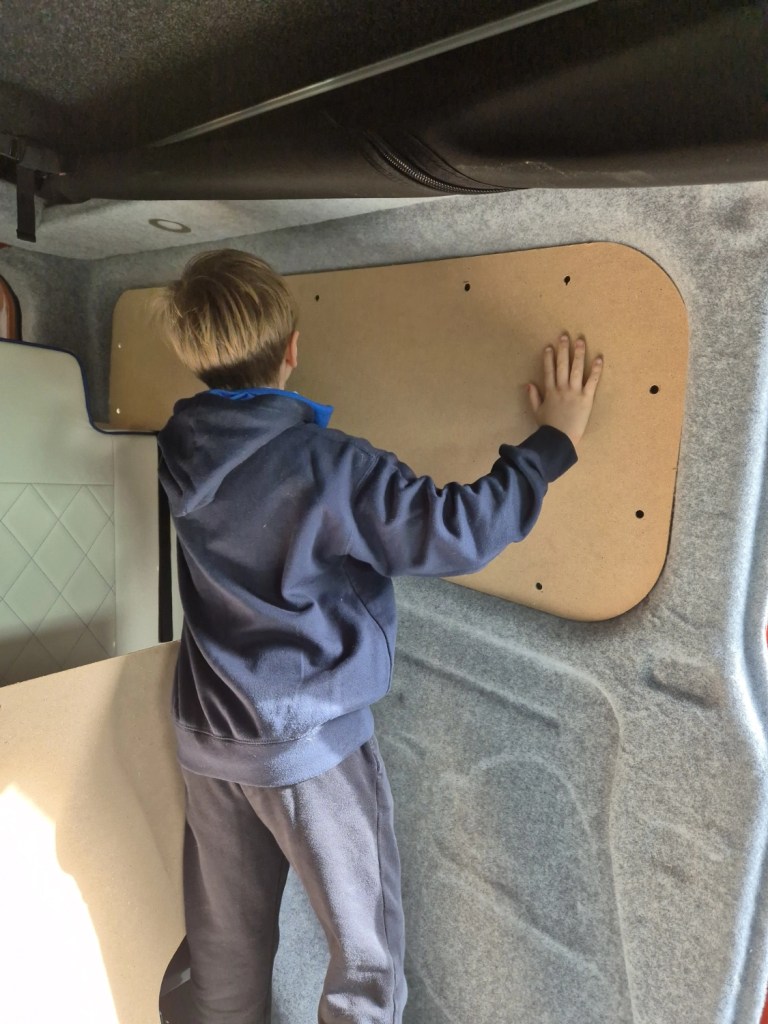
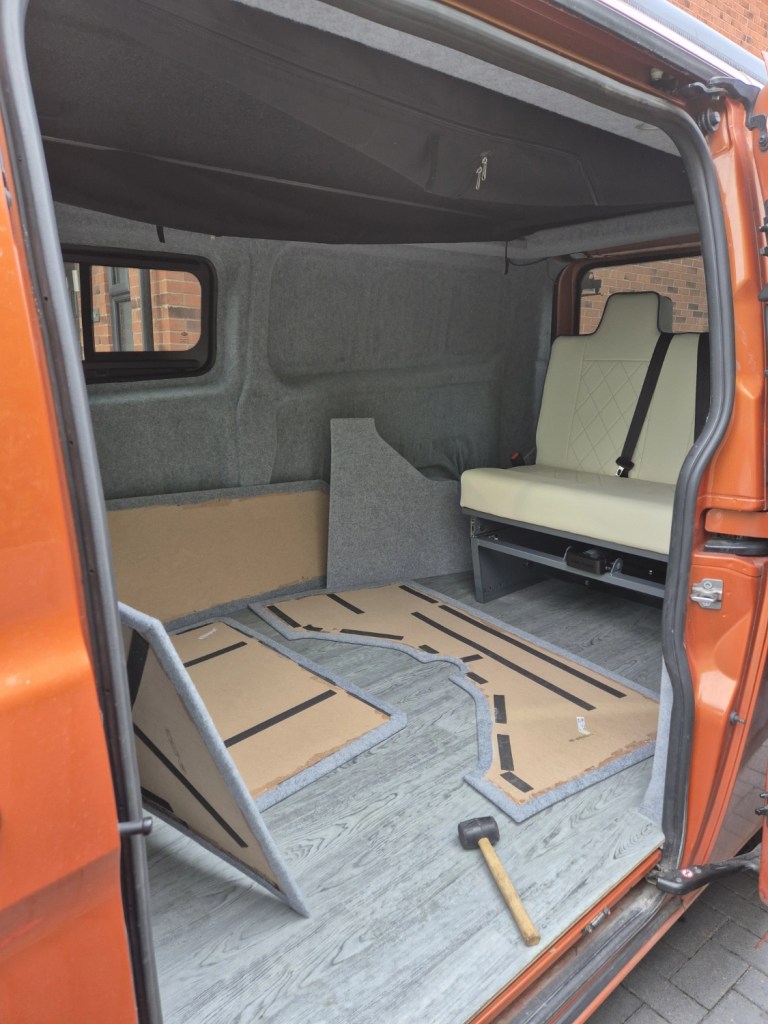
First task of the day was identifying which of the van’s original ply panels went where. Easier said than done – this was like van-life Tetris, but the boys were ready to accept the challenge! I left them to it, expecting minor chaos and at least one sulk, but to my genuine amazement they matched every panel to its place with zero arguments and actual teamwork. I’m still not sure what happened, but I didn’t question it.
With panels matched and labelled, we rolled out the carpet and set up shop at the entrance of the garage. The sun was shining, the wind was mild – we opened all the doors, got the tarpaulin laid out, and put snoods firmly on to protect us from the perils of spray adhesive.

Each board got its moment in the spotlight: plonked onto the carpet, given a few inches of border, and lovingly sprayed and smoothed by the boys, several inches adhered at a time. They took turns to spray, then carefully pressed the carpet in the right direction to prevent any rippling.

Somehow, this simple job swallowed the whole morning, but the boys stayed committed until the very last panel was trimmed!
Post-lunch, I took over with the precision trimming – folding, tucking, and trying to poke holes back through the carpet. This was hands down the most fiddly part of the day! At least they are all trimmed now!
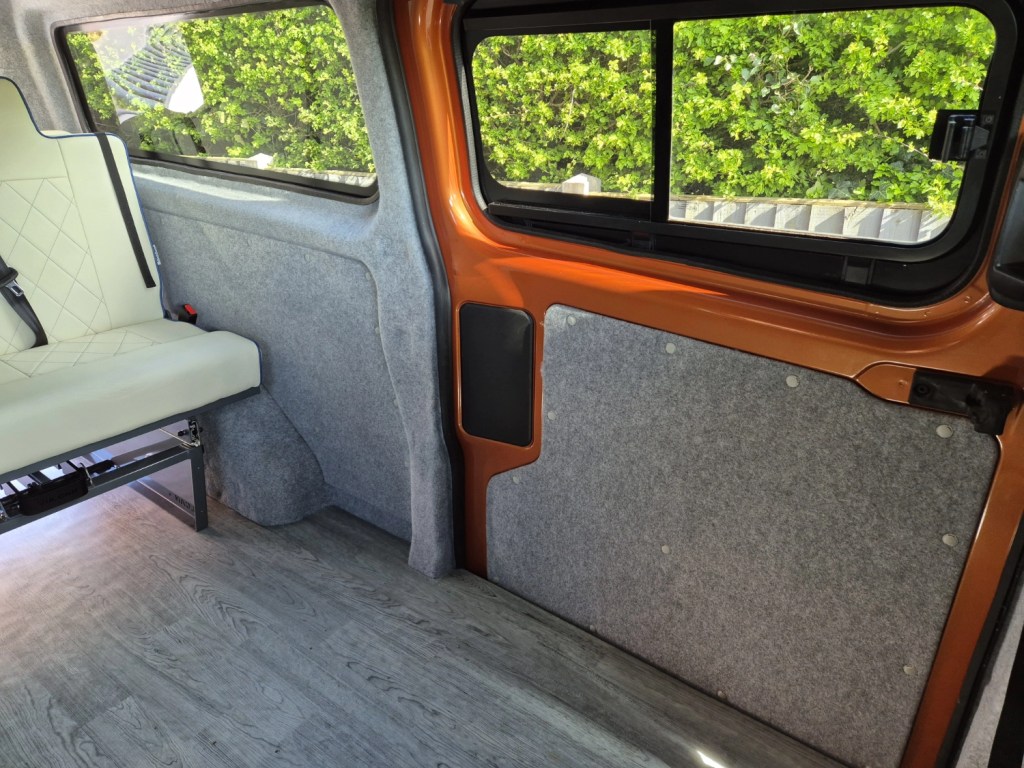
Naturally, the original trim clips were now too short. But this turned out to be a win – because in my hunt for longer ones, I discovered a whole bunch of colour options to match the most popular carpet colours. I grabbed some silver ones to blend nicely with the silver carpet, because if we’re going to be stuck in traffic one day, at least we can admire our coordinated interiors!
A couple of days later, the clips arrived and we all crammed excitedly back into the van for the fitting… Panels were gently persuaded to return to their original locations, (easier said than done!) and we all stood back to admire our handy work! This is getting exciting, we’re another step closer towards a functioning campervan!!

Next stop: a final visit to a “Van Professional” for the roof bed to be made…
Read our progress so far!
03. Part 01: Stripping the Interior
04. Part 02: Installing the Windows
05. Part 03: Installing the Pop Top (1)
06. Part 03: Installing the Pop Top (2)
07. Part 03: Installing the Pop Top (3)
10. Part 06: Floor Removal, Sound Deadening & Insulation
11. Part 07: Fitting the Carpet
12. Part 08: Fitting the Flooring
13. Part 09: The Rock n Roll Bed arrives
Discover more from Treks, Trails & Travel
Subscribe to get the latest posts sent to your email.

Really enjoying watching you transform the van. Just waiting for that first “night out” post when the work is done
LikeLiked by 1 person
Ahh thank you! It’s a slowly-but-surely one that’s for sure, but I am really hoping it won’t be long until our first “night out” now! 🙂
LikeLiked by 1 person